How can I pair a mobile phone with IP ONVIF camera?
First of all, make sure that your security camera is indeed ONVIF compatible. You can tell by the „ONVIF“ label on the camera’s packaging, or check the security camera manual for technical specifications.
Please be aware that you can only view the footage from the security cameras if both devices (security camera and your phone) are on the same WiFi network. We do not yet allow access to footage remotely (from another WiFi network or via mobile data).
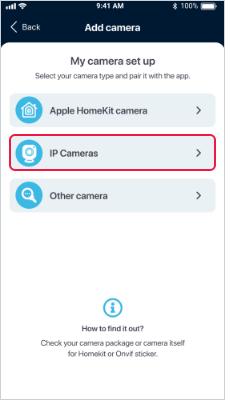
Step 1. On app’s dashboard choose “Pair my camera” (If you have already added a camera, use the „+“ at the top right of the screen.).

Step 2. Select „IP cameras„. The application will automatically start searching for available ONVIF cameras on your network.
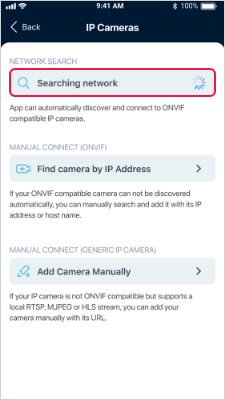
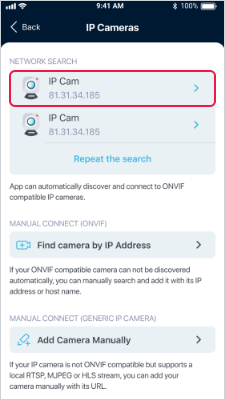
Step 3. In the list of found ONVIF cameras, select the one you want to add to the app. In the settings, enter the name of camera and login credentials (IP address and Port are already present). Select „Add camera“ to add the camera to the app.
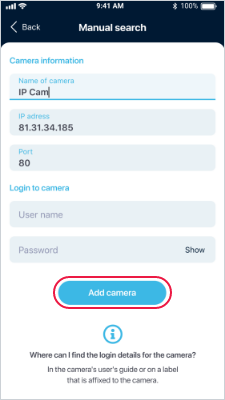
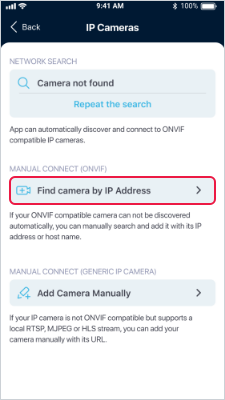
Step 4. If you want to add an ONVIF camera manually, select „Find camera by IP Address“.
Note: Adding a security camera manually to ZoomOn requires working with a router and security camera administration. We therefore recommend that you contact an IT expert to help you with the connection.
Type any name for your camera in the „Name of camera“ field.
In the „IP address“ field, enter the IP address of your camera. The IP address is assigned to the camera by the router. So go to the router administration, search for your camera in the list of available devices and find the IP address in the camera details (you will see the IP address in the numeric format XXX.XXX.XXX.XXX).
Note: When you are in the router administration, we recommend you to set the IP address for the security camera as static. This way, if the power goes out, you won’t have to pair the app with the security camera again.
In the „Port“ field, type the number you find in the camera administration.
If you are using login credentials to log in to the camera, add the username and password.
